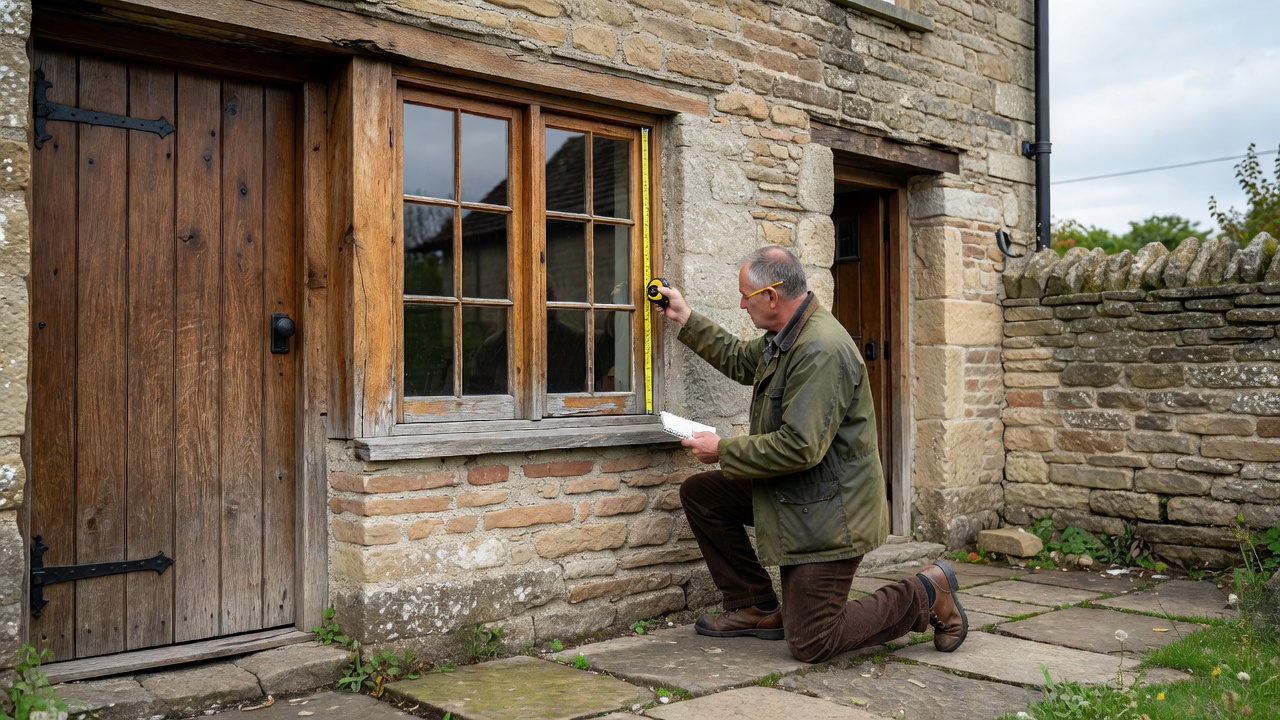
Record the elevation as a whole
Before inspecting an individual window, photograph the whole wall square-on where possible. Compare the size of openings, the masonry between them and their relationship with the eaves. Some cottages have a regular arrangement; others retain deliberate asymmetry or signs of incremental change. Imposing perfect alignment can remove useful evidence rather than restore an original design.
Identify which openings appear early, which have been enlarged and which belong to later additions. A blocked opening or an unusual lintel may be worth recording, but should not be reopened merely because it exists. Structural implications, interior use, weathering and any heritage protection need to be considered together. A measured elevation is a better basis for discussion than a collection of unrelated product photographs.
Look closely at the window anatomy
Record whether each window is a side-hung casement, sliding sash, fixed light or another form. Then examine the frame’s position within the wall, the width of glazing bars, the meeting rails and the projection of the sill. Two windows with the same overall dimensions can look very different because their visible frame area and shadow lines differ.
Historic glass may have a subtly uneven appearance that contributes to the exterior. Hinges, catches and stays may also be useful surviving details. Photograph them without removing fragile components. If a replacement is proposed, compare full-size sections and sample corners rather than relying on a small brochure image or a description such as “heritage style.”
How deeply is the frame set into the wall?
How much timber or metal is visible around each pane?
How does water leave the frame and clear the wall?
Ask what can be repaired
Sticking, draughts and peeling paint do not automatically mean a whole window has reached the end of its life. A knowledgeable joiner can distinguish failed coatings, loose joints, local decay and more serious deterioration. Repairs may include carefully designed timber splices, adjustments and renewed weathering details. Their suitability depends on the frame’s condition and the way it was made.
Comfort can sometimes be improved through overhaul, appropriate draught reduction, shutters or secondary glazing. Assess ventilation, condensation, escape requirements and operation before choosing a system. Historic England’s traditional-window guidance and SPAB’s technical advice provide useful starting points. They do not establish that a particular solution is suitable, lawful or adequate for your building.
Give the front door a supporting role
A front door should relate to the opening around it rather than compete with it. Observe its width, panel arrangement, frame and threshold. A plain boarded door can be entirely appropriate in one setting, while a panelled door may suit another. The building’s actual evidence is more reliable than an assumed universal cottage style.
Consider the whole entrance group: porch roof, door surround, fanlight, step, letter plate, handle and external light. Adding oversized ironmongery or an elaborate canopy can make a modest doorway feel smaller. Test changes in a photograph or measured drawing, and compare them with the scale of nearby windows. Keep practical requirements, including security and safe access, in the same conversation.
Resolve thresholds and surrounding walls
A new door can change levels, seals and the way rain reaches the entrance. Check the existing step, paving falls and any drainage arrangement before ordering. Accessibility improvements may need a coordinated design rather than an isolated ramp or raised path. Do not bury ventilation openings or vulnerable wall bases while trying to simplify a threshold.
Replacement windows also affect surrounding finishes. Wider frames may conceal part of a stone reveal, while new external insulation can change the apparent depth of every opening. Ask for junction details showing how sills, lintels, render edges and seals will work together. An attractive sample unit does not demonstrate a successful installation.
Make decisions opening by opening
Prepare a short schedule giving every window and door an identifier, photograph, condition note and proposed action. Some may need maintenance, others a local repair, and a few more extensive work. This avoids treating the entire building as one replacement package. It also makes quotations easier to compare because the intended scope is explicit.
Before disturbing older paint, putty or concealed materials, consider hazardous substances and suitable working methods. Listed-building controls, conservation-area provisions, energy requirements and other rules vary by location and project. Confirm the position with the relevant authority and competent advisers before ordering or starting work.